Eye was slow, then Eye Reverb
The actual steps are easy… if you let them be. Slow down the recordAdd ReverbLoop a dope visual
Part 1 — Audio
** Blue Faces was mixed and mastered by Bam Kieth. **
My first attempt at slowed and reverb was using a generator. The website was simple itself; upload a track, customize speed, and the amount of reverb. So I did, 4 different times and I didn’t like them. The final one, which probably was the slowest version, with a medium amount of reverb was the closest to what I wanted to be hearing.
TRY ME
I thought of how I could solve this problem, and realized I could do this and more in Logic. Learning how to do it became my next new goal. I watched a tutorial break down on YouTube and got to work.
In Logic X Pro I slowed down the Mastered version of Blue Faces, stretching the record out and adding 45 seconds to the single. Now the record is 3 min and 31 seconds long.
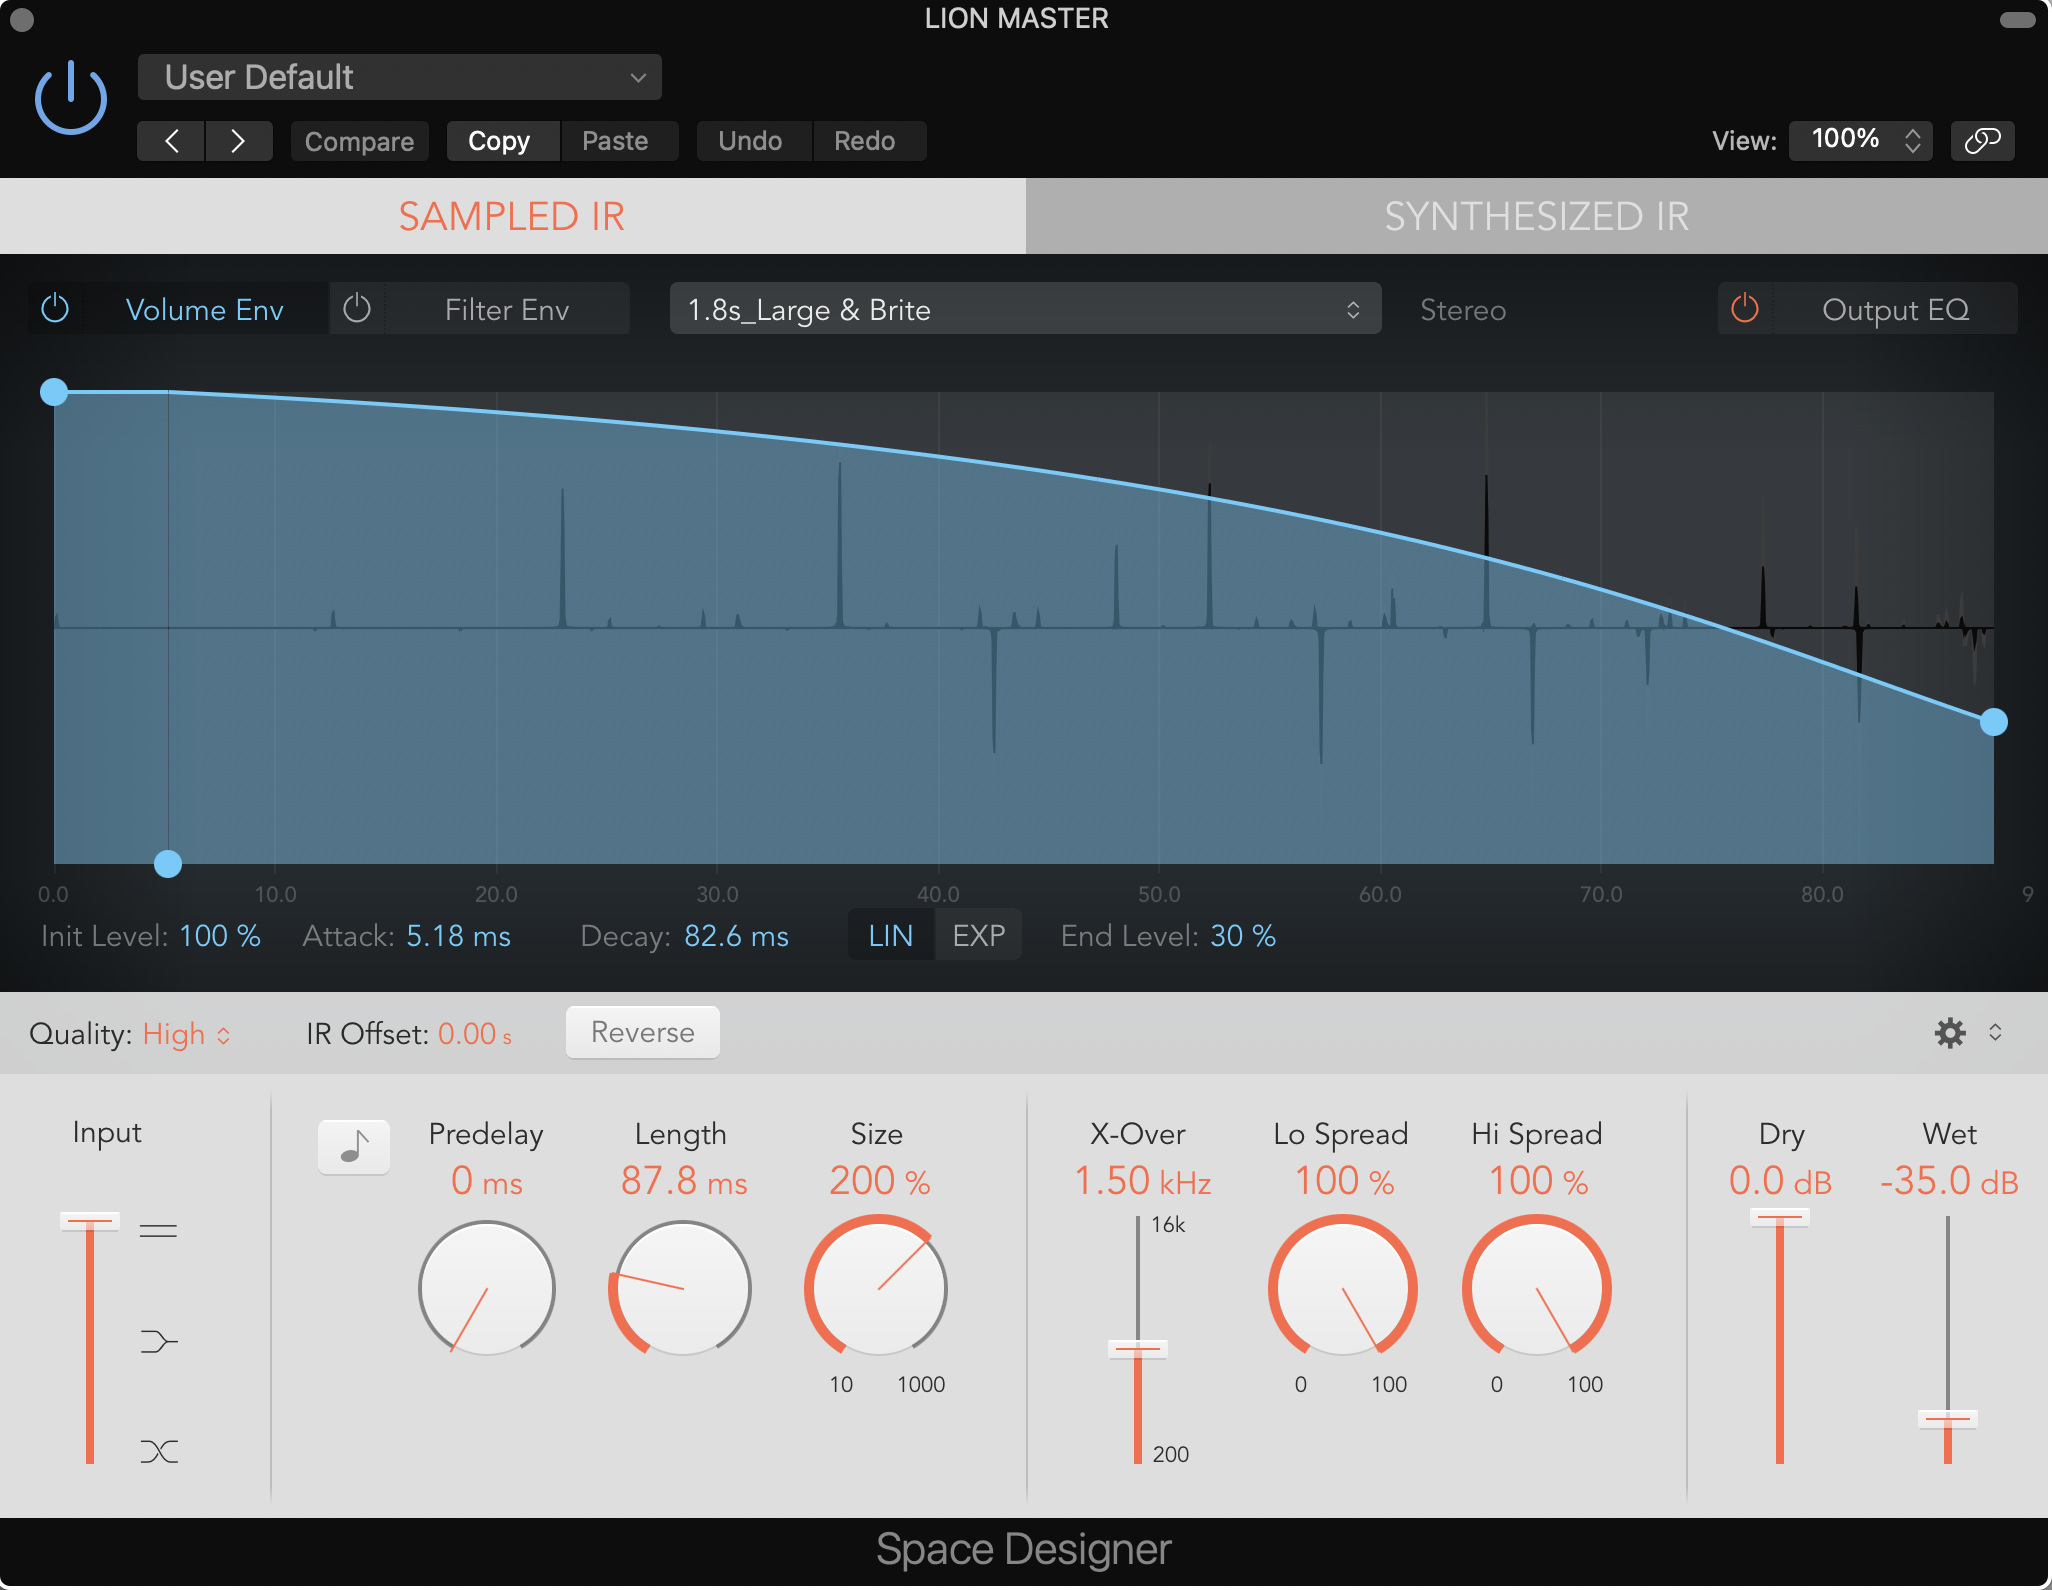
I then entered Space Design to adjust the Reverb plug in. I’ll be honest here I’m self taught and intuitive, so this customization came from playing around and listening,
Space Design in Logic X PRO
That was truly it, the track was done, I bounced it out and was more than satisfied. You can now listen to Blue Faces - Slowed and Reverb.
Part 2 — Video
You know visuals are my favorite part!
Thank you to Alec, who introduced me to DaVinci Resolve—This software is free and super fun to use.
Blue Faces was the first major project I edited with Resolve. Even though my SSD Drive went missing for 6 months, I kept the project in DaVinci and this came in clutch for the ( slowed + reverb ) video. With the Saved Project I had organized Timelines, and the Color Grading customization accessible. I grabbed a few snippets from the Vault Scene Timeline, and copied over the Color Grading I used for the Official Music Video. Foundations now set, the goal is to tweak the visual to match the aesthetic styling of slowed + reverb. I needed an epmhasis on Pink Highlights and Blue Shadows.
Deciding what snippet to commit to was way more challenging that I anticipated. I love so much of the footage, truly. The more I was working on this video, the more I was realizing the prolonging of this release was due to 100% of me being indecisive. So I let research steer the road. I learned two things: that 4,8 and 16 second loops are the most popular length choices, and that most videos has a single loop playing for the duration of the video.
I got to the best of both worlds by, selecting an 8 second loop and layering it with another loop. This gave a simultaneous flow of movement and I was very happy with the results! I exported the project, and the final step of creation was completed.
Official Video is out now!!
A message from me:
Regardless of which method you take to bringing your vision to life, the important thing is that you do what you CAN with what you have. Being picky isn’t always an option. I love being able to do for my self and I will always encourage a DO IT YA SELF attitude. Get the thing done!
I talk about this process on my most recent Podcast Episode called Eye was slow, then Eye Reverb.

